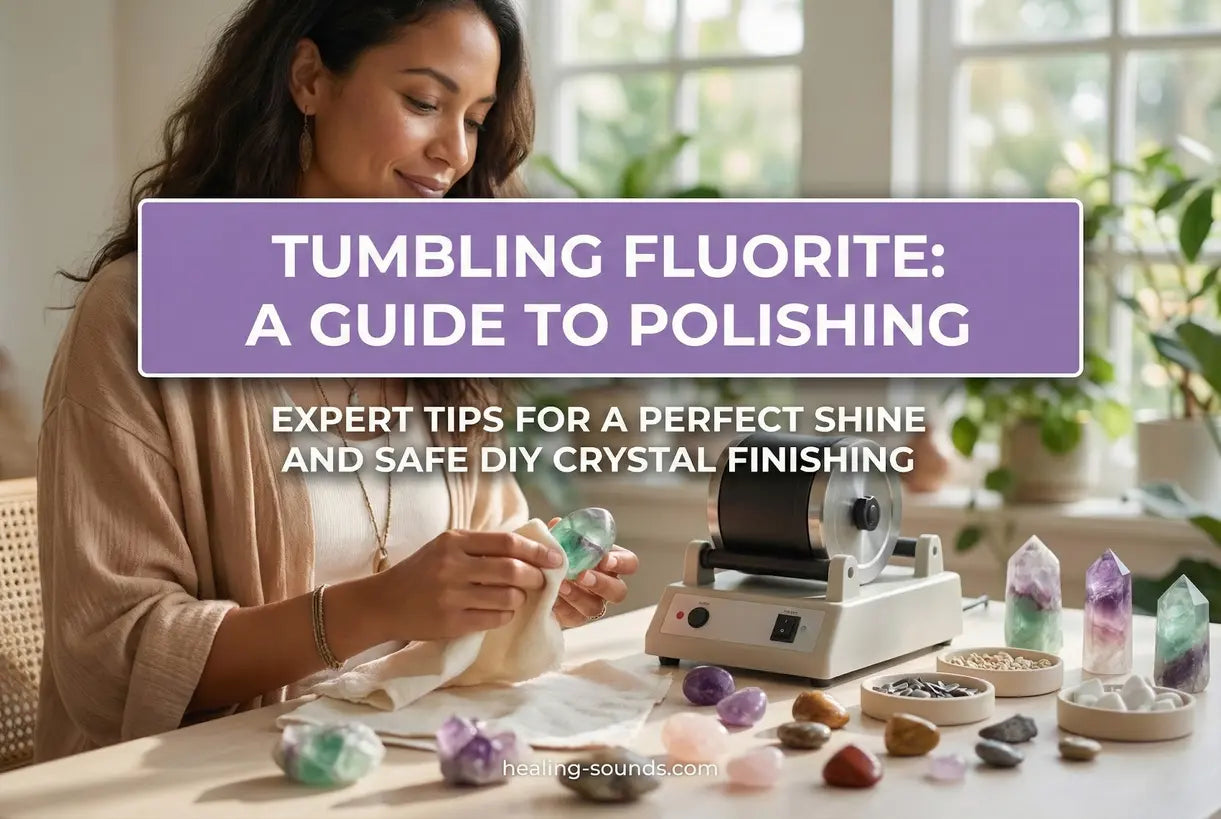
For many rock tumbling enthusiasts, the vibrant bands of purple, green, and blue found in raw fluorite make it a dream project. However, tumbling fluorite presents a unique set of challenges compared to harder stones like agate or jasper. Because it is a relatively soft mineral with perfect cleavage, achieving that glass-like finish requires patience, specific techniques, and the right materials.
If you have ever wondered how to transform rough chunks into smooth, glowing gems without fracturing them, you are in the right place. This guide covers essential fluorite tumbling tips, the materials you need, and a step-by-step process to help you successfully polish this delicate stone at home.
Understanding the Challenge: Why is Fluorite Difficult to Tumble?
Before diving into the process, it is crucial to understand the material. Fluorite sits at a 4 on the Mohs hardness scale, making it significantly softer than the quartz-based stones (hardness of 7) that beginners usually start with. Furthermore, fluorite has perfect cleavage in four directions, meaning it can easily crack or shatter if the tumbling action is too vigorous.
Because of these properties, standard tumbling recipes often lead to bruised or frosted stones rather than polished gems. The key to success lies in cushioning the load and avoiding aggressive tumbling stages.

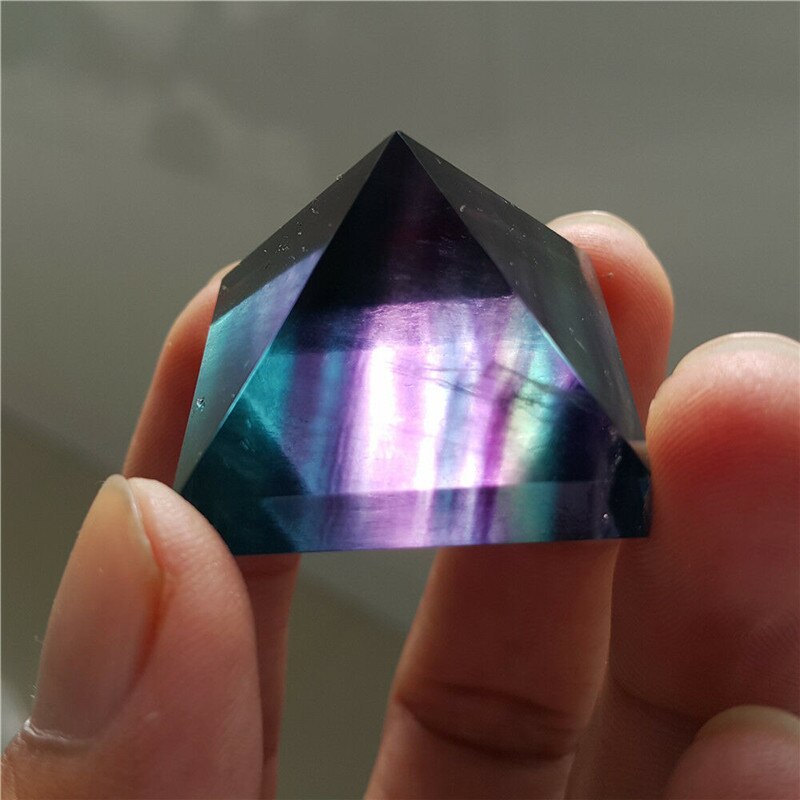
Miniature Fluorite Cleansing Pyramid for Meditation
$39.99 $49.99
Perfect for showcasing your polished fluorite—this pyramid adds harmony and clarity to any display or meditation corner.
Explore Product
Essential Supplies for Polishing Fluorite
To start polishing fluorite, you will need a rotary or vibratory tumbler. Many experts prefer vibratory tumblers for soft stones because they are gentler, but a standard rotary fluorite rock tumbler works well if you take precautions. Beyond the machine and grits, the most critical addition is cushioning media.
- Ceramic Media or Plastic Pellets: These are non-negotiable. They fill the gaps between stones, preventing them from banging against each other and causing impact fractures.
- Dedicated Barrel: Ideally, use a barrel that has not been used for coarse grinding harder rocks to avoid cross-contamination of scratches.
- Quality Grits: Silicon carbide is standard, but aluminum oxide is often preferred for the pre-polish and polish stages on soft stones.
Step-by-Step Guide to Tumbling Fluorite
The following steps are designed to minimize damage while maximizing shine. Remember, how to polish fluorite effectively involves more monitoring than harder stones.
Step 1: The Rough Grind (Optional)
If your fluorite is already somewhat smooth or consists of cleavage fragments, you might skip the coarse (60/90 grit) stage entirely. If you must shape rough chunks, run this stage for only 2-3 days. Check daily. The goal is just to round off sharp corners, not to remove bulk material.
Step 2: Medium Grind (120/220 Grit)
This is often the starting point for fluorite. Run the stones for 5-7 days. Ensure your barrel is filled to the recommended level (usually 2/3 to 3/4 full) using plenty of ceramic media to buffer the action. The slurry should be thick enough to coat the stones, providing further cushion.
Crucial Cleaning Tip
Between every stage, wash the stones, barrel, and media meticulously. Even a single grain of coarse grit carried over to the polishing stage can ruin the finish on soft fluorite.
Step 3: Pre-Polish (500 or 600 Grit)
Run this stage for roughly a week. By the end of this cycle, the stones should feel very smooth to the touch and have a matte, hazy appearance. If you see cracks or bruises, you may need to add more cushioning for the final stage.

Step 4: The Final Polish
For the final shine, use a high-quality aluminum oxide polish (TXP is a popular choice for difficult stones) or cerium oxide. Run this for 7-10 days. Do not rush this step. Some hobbyists recommend using a "burnishing" step afterwards with just Borax or mild soap and water for a few hours to clean off the polish residue and enhance the luster.

Expert Tips for Troubleshooting
Even with a good recipe, issues can arise. If you notice your stones are getting smaller but not shinier, or if they develop white "bruises" on the edges, your barrel may be underfilled. The stones are hitting each other with too much force. Add more plastic pellets or small ceramic cylinders to slow the action down.
If you are interested in how to polish fluorite by hand, know that it is possible using wet/dry sandpaper and patience, but it is labor-intensive. Tumbling is generally more efficient for batches, while hand polishing is reserved for single, high-value specimens.
Caring for Your Polished Fluorite
Once you have achieved that beautiful shine, handle your stones with care. Polished fluorite is sensitive to heat and can fade in direct, strong sunlight over long periods. It is best displayed indoors away from harsh UV rays or worn as jewelry in protective settings.
Referencing scientific data on minerals helps us understand care better; for instance, the Mohs Hardness Scale confirms why fluorite scratches easily compared to quartz. Store your tumbled fluorite separately from harder gemstones to maintain that hard-earned polish.

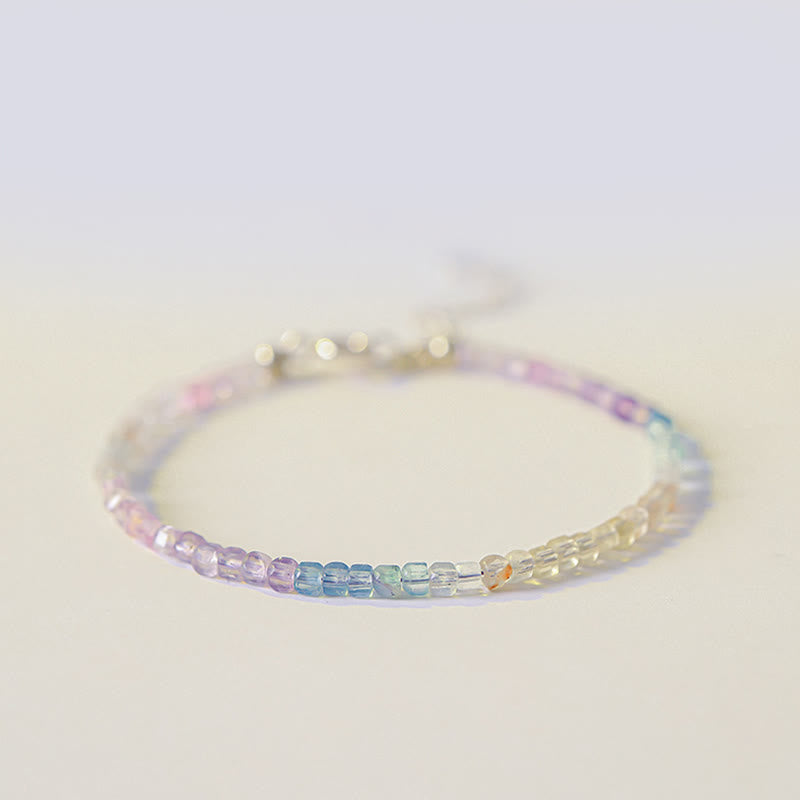
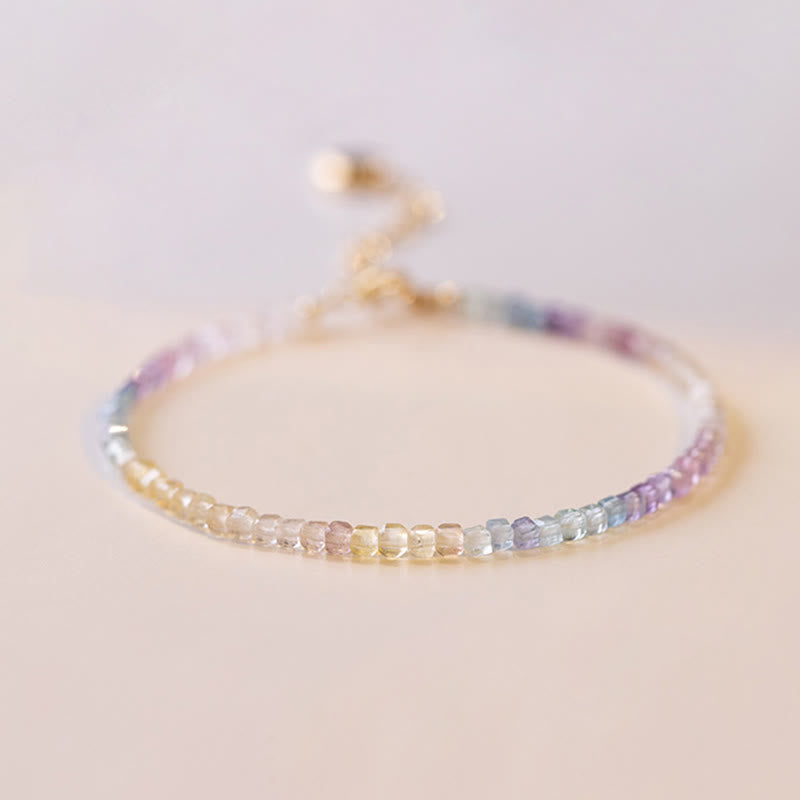
Wear Your Peaceful Energy

2.5mm Fluorite Copper Heart Bracelet for Balance & Peace
$28.90
$41.90
Wear your love for fluorite with this delicate bracelet, channeling peaceful energy after your tumbling projects. Learn more ➔

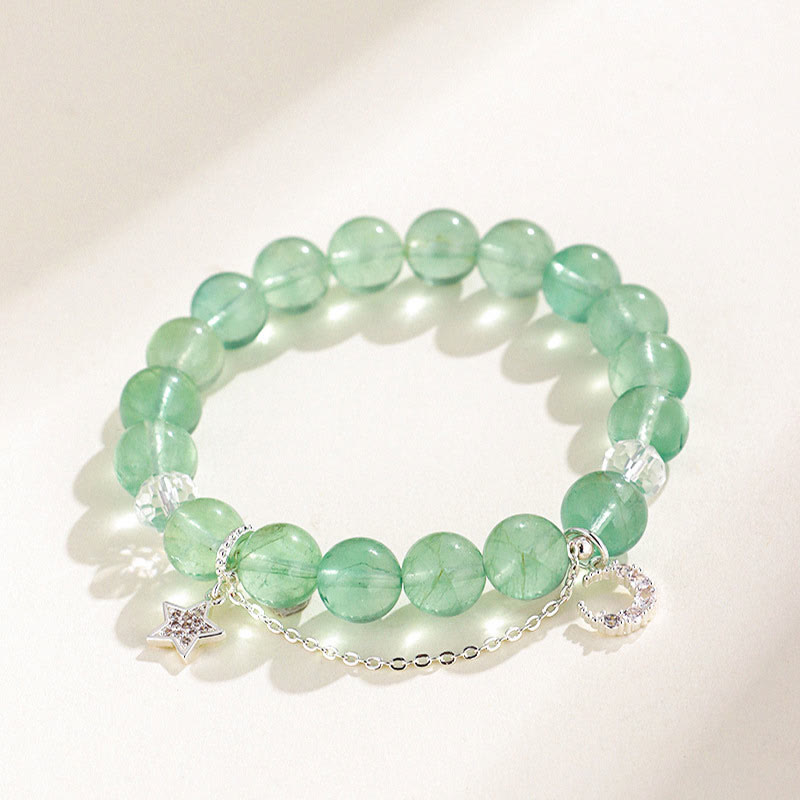
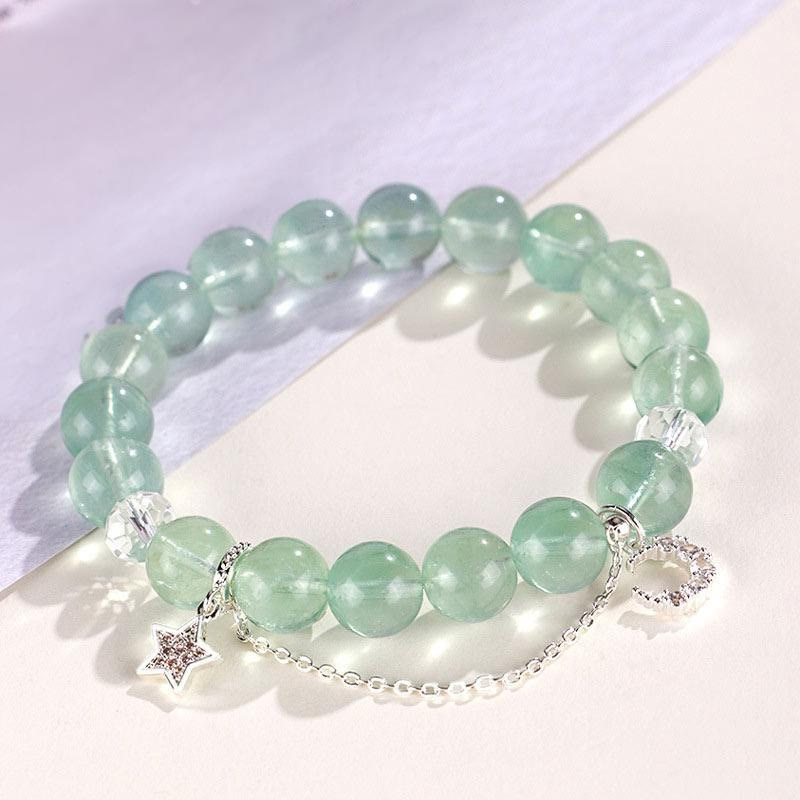
10mm Green Fluorite Bracelet with Moon & Star Charms
$36.90
$52.90
Celebrate your polished stones with this statement green fluorite bracelet, connecting jewelry with crafting success. Learn more ➔
Conclusion
Mastering tumbling fluorite is a badge of honor for any rock hobbyist. It teaches patience and precision, rewarding you with stones that glow with an inner light unmatched by other minerals. Whether you display your polished treasures in a bowl, use them for meditation, or incorporate them into jewelry, the effort is well worth the result. Remember to keep your equipment clean, cushion your load, and enjoy the process of revealing the hidden beauty within the rough stone.
Frequently Asked Questions about Tumbling Fluorite
Yes, you can tumble fluorite, but it requires extra care because it is a soft stone (Mohs hardness 4). You must use plenty of cushioning material like ceramic media or plastic pellets and avoid mixing it with harder stones like quartz to prevent bruising and fractures.
Stones that are extremely soft (like talc or gypsum), porous, or soluble in water should not be tumbled. Additionally, avoid tumbling stones with significantly different hardness levels together in the same batch, as the harder stones will scratch and damage the softer ones.
While fluorite comes in almost every color, completely colorless fluorite is quite rare in nature, as are certain deep shades of pink. Blue fluorite is also less common than the ubiquitous green and purple varieties.
Fluorite is rarely used in mainstream commercial jewelry because it is too soft and fragile for daily wear. It scratches easily and has perfect cleavage, meaning a single sharp knock can cause it to split or shatter. It is primarily used for collector's pieces or jewelry that is worn occasionally and carefully.
To polish fluorite by hand, use a series of wet/dry sandpaper sheets, progressing from lower grits (e.g., 220) to higher grits (up to 2000 or 3000). Sand the stone while wet to reduce dust and heat. Finish by polishing with a polishing compound on a soft cloth or leather strip for a high shine.