Creating your own sacred tools is a profound way to deepen your spiritual practice. The process of learning how to make a mala is more than just a craft; it's a moving meditation that infuses your personal energy and intentions into every bead and knot. A handmade mala necklace becomes a tangible symbol of your journey, a beautiful and powerful companion for meditation, mindfulness, and manifestation.
If you've ever felt drawn to these beautiful strands of beads, this guide is for you. We will walk you through every step of making a mala necklace, from choosing meaningful materials to tying the final knot. By the end, you will not only have a stunning piece of spiritual jewelry but also a deeper connection to the ancient tradition behind it.
The Sacred Anatomy of a Mala Necklace
Before you begin crafting, it's helpful to understand the components of a traditional mala and their spiritual significance. Each part serves a purpose, transforming a simple string of beads into a powerful tool for meditation.
The 108 Beads
A traditional mala has 108 beads, a number considered sacred in many spiritual traditions, including Hinduism and Buddhism. This number represents many things: the 108 energy lines converging to form the heart chakra, the 108 earthly desires, and the diameter of the Sun which is 108 times the diameter of the Earth. During Japa meditation, you recite a mantra 108 times, using each bead to keep count.
The Guru Bead
The Guru bead is the 109th bead, which is not counted during meditation. It signifies the teacher or the divine wisdom you seek. It serves as the start and end point for your mantra repetition, and it is a moment to pause and honor your intentions and your spiritual guides.
The Tassel
The tassel represents consciousness and the connection to the divine. The many strands of the tassel bind together to form one, symbolizing our connection to all beings and the universe. It also helps to diffuse the energy accumulated during your meditation practice.
The Thread and Knots
The thread that holds the mala together symbolizes the unseen force that connects everything in the universe. The knots tied between each bead are particularly important; they create space, make the mala stronger, and help keep your fingers in place as you move from one bead to the next during meditation.

Gathering Your Mala-Making Materials
Choosing your materials is the first creative step in making your mala. Let your intuition guide you to the colors, textures, and energies that resonate with your personal intention for this sacred tool.
Choosing Your Beads
Traditionally, malas are made from natural materials that hold spiritual energy. Popular choices include:
- Rudraksha Seeds: Considered sacred in Hinduism, these seeds are believed to offer protection and connect the wearer with the divine.
- Sandalwood or Rosewood: These fragrant woods have a calming, grounding energy that is wonderful for meditation.
- Gemstones: Each gemstone carries a unique vibration. For example, you might choose amethyst for intuition, rose quartz for love, or tiger's eye for courage. Select stones that align with the intention you are setting for your mala.
You will need 108 beads of your chosen material (typically 6mm or 8mm) and one larger or distinct bead for your Guru bead.
Selecting Your Thread and Tassel
Choose a strong, durable thread. Silk or nylon cords are excellent choices. The color can also be chosen intentionally to match your beads or your purpose. For the tassel, you can purchase a pre-made one or create your own using embroidery floss or silk thread that matches your main cord.
Essential Tools Checklist:
- 108 main beads (6mm or 8mm)
- 1 Guru bead (slightly larger or different)
- Strong cord (e.g., silk, nylon), approximately 60 inches
- A tassel (pre-made or materials to make one)
- A beading needle or a piece of thin wire folded in half
- Scissors
- A small bowl to hold your beads
How to Make a Mala Necklace: A Step-by-Step Guide
Now that you have your materials, it's time to begin the beautiful process of making your mala. Find a quiet, comfortable space where you won't be disturbed.
- Prepare Your Space and Set Your Intention: Before you begin, take a moment to cleanse your space by lighting a candle, burning sage, or simply taking a few deep breaths. Hold your beads in your hands and set a clear intention or dedicate a mantra for your mala. This infuses your creation with purpose from the very start.
- Prepare Your Threading Needle: Double your cord and tie a simple overhand knot about 6-8 inches from the end, leaving a tail. This knot will stop the beads from sliding off. Thread the loop at the other end of your cord through your beading needle. You will be stringing the beads onto the doubled cord.
-
Stringing the Beads and Tying the Knots: This is the heart of the meditative process.
- Slide your first bead onto the cord, bringing it all the way down to the starter knot.
- Tie an overhand knot snugly against this bead. You can use your thumbnail or a pair of tweezers to help guide the knot into place.
- Add the next bead, and tie another knot. Repeat this process, breathing with each knot and perhaps repeating your mantra. Continue until all 108 beads are strung and knotted.

For a clear visual demonstration of the knotting technique, watch the tutorial below. It provides an excellent close-up view of how to create secure and evenly spaced knots, which is crucial for a durable and beautiful mala.
- Adding the Guru Bead: Once all 108 beads are knotted, it's time to add the Guru bead. Take both ends of the cord (the needle end and the tail end) and thread them together through the Guru bead. The Guru bead should sit directly on top of the first and last bead of your strand, closing the circle.
- Attaching the Tassel: After the Guru bead, thread both cords through the loop of your tassel. Tie a secure double or triple overhand knot to fasten the tassel tightly against the Guru bead. This is a key step to ensure your mala is secure.
- Finishing and Closing the Mala: Trim any excess cord close to the final knot. You can add a tiny drop of clear glue or jeweler's cement to the knot for extra security. Your mala is now complete!

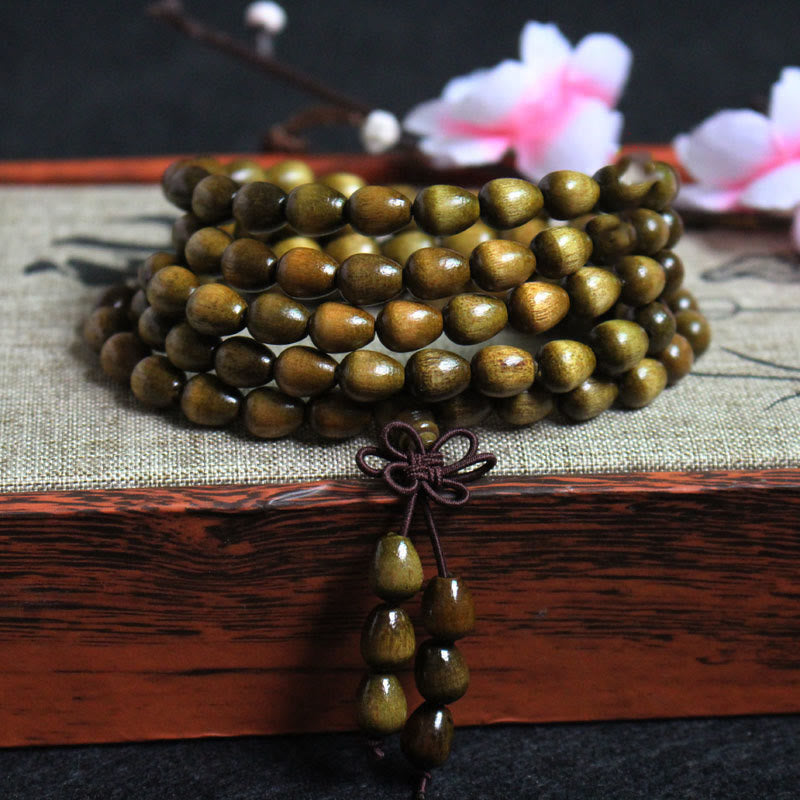
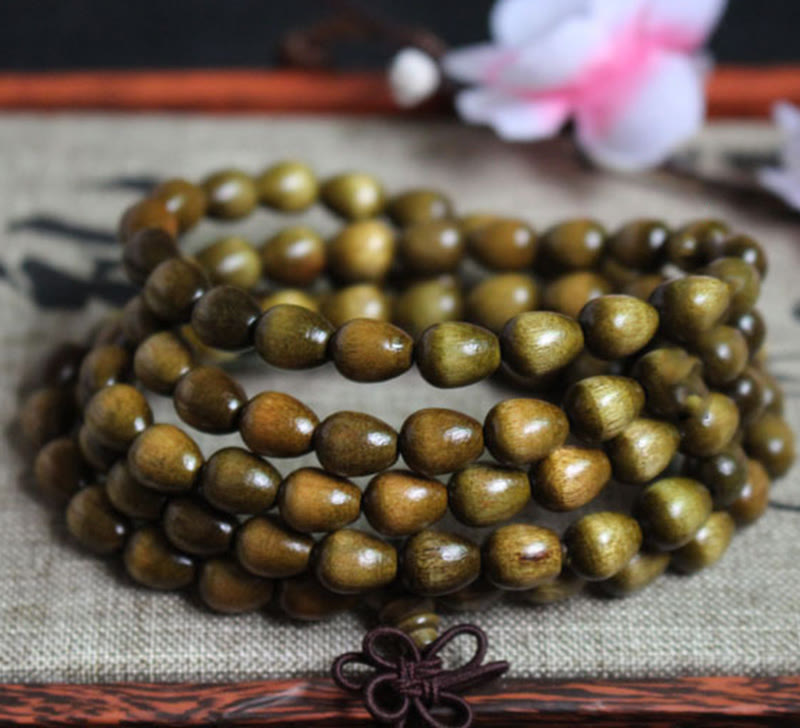
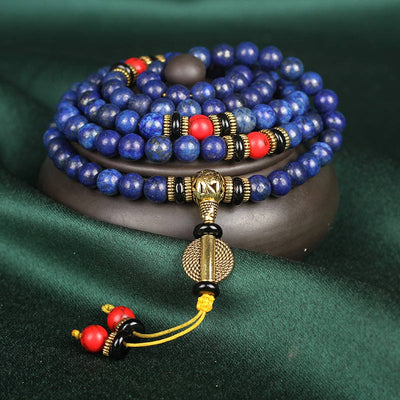
108 Beads Phoebe Zhennan Wood Protection Mala Bracelet
$24.90 $35.90
Study the 108 bead Phoebe Zhennan wood mala bracelet design to inspire your DIY mala necklace crafting journey.
Explore ProductBlessing and Using Your Newly Created Mala
Your handmade mala is a sacred object that has absorbed your energy and intentions. Before using it, you may wish to cleanse and bless it. You can do this by leaving it in moonlight overnight, smudging it with sage or palo santo, or placing it on a crystal selenite plate.
To use your mala for meditation, hold it in your right hand, draped between your middle and index fingers. Starting at the bead next to the Guru bead, use your thumb to pull each subsequent bead towards you as you recite your mantra. When you complete a full circle and reach the Guru bead again, you have completed 108 repetitions. This practice, known as Japa meditation, is a powerful way to focus the mind and connect with your spirit.

Get Inspired by These Mala Designs

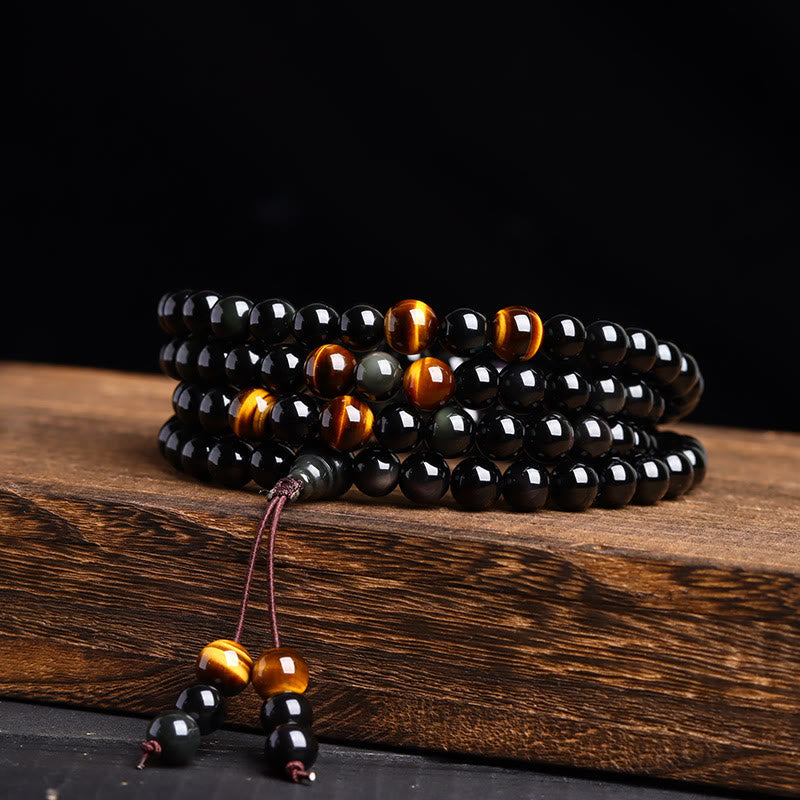
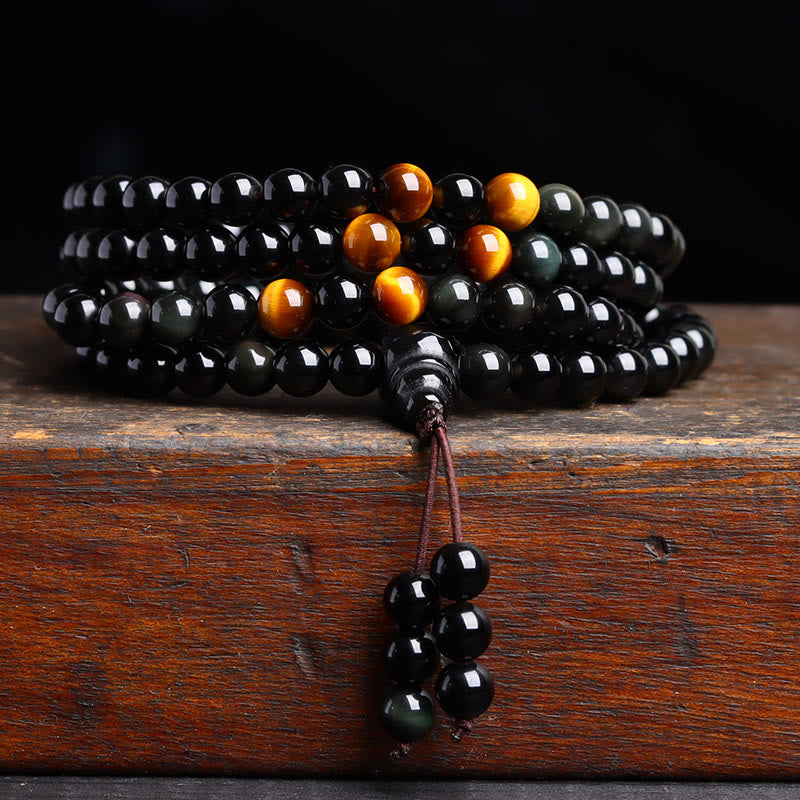
6mm Black Obsidian Tiger Eye 108 Bead Mala Bracelet
$36.90
$52.90
Explore the symbolic use of black obsidian and tiger eye in this 108 bead mala—an ideal reference for color and gemstone choices. Learn more ➔

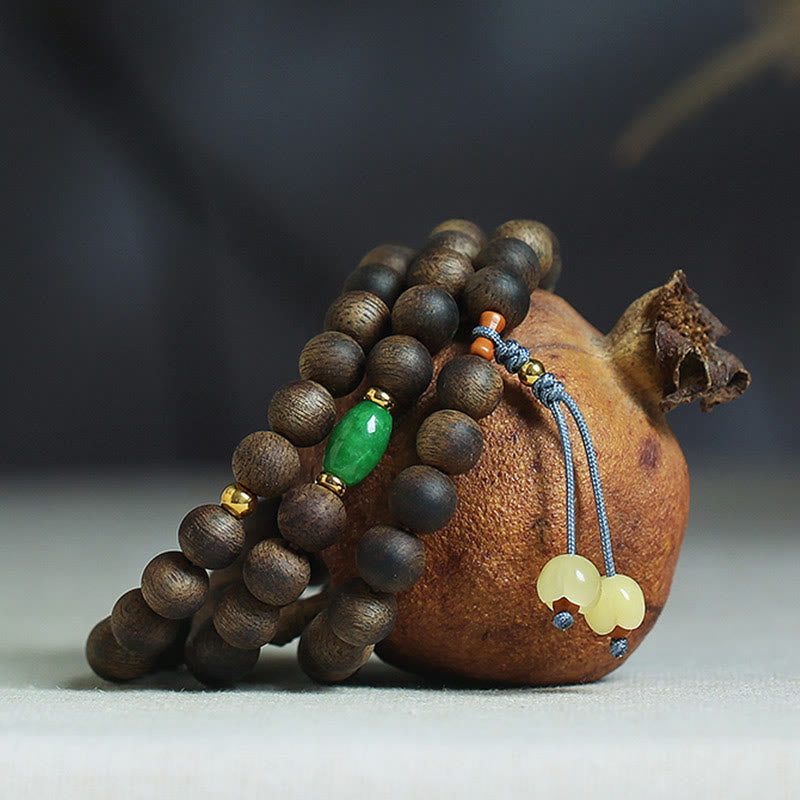
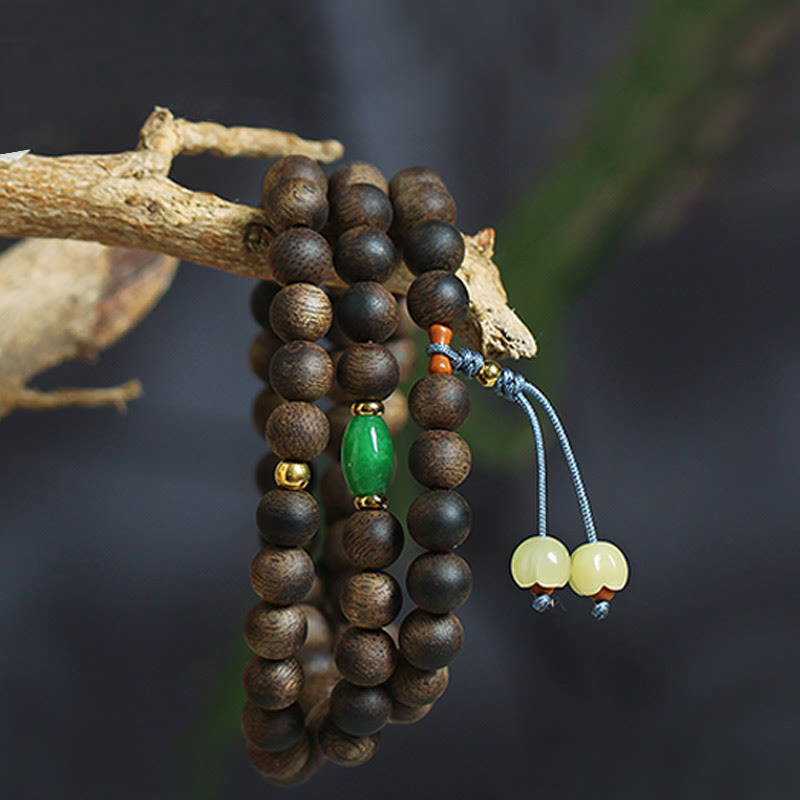
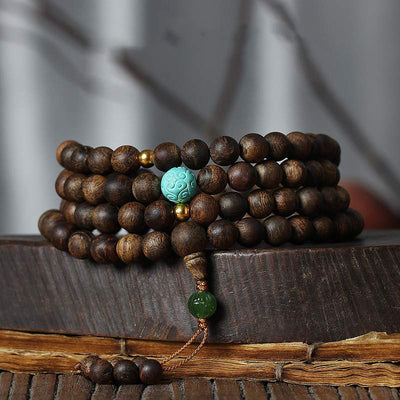
108 Bead Mala Meditation Bracelet with Agarwood Cyan Jade Amber
$3,209.99
$4,199.99
See this mala’s creative mix of agarwood, jade, and amber for ideas to personalize your own mala necklace project. Learn more ➔
Conclusion
Congratulations on learning how to make a mala necklace! This journey of creation is just as important as the finished product. You have crafted not just a piece of jewelry, but a personal and potent tool for your spiritual practice. May it bring you peace, focus, and a deeper connection to your inner wisdom every time you wear it or hold it in your hands. Cherish the energy you have woven into its very core and let it be a beautiful reminder of your unique path.
Frequently Asked Questions about Making a Mala Necklace
Making a mala involves several key steps: 1. Gather materials (108 beads, 1 Guru bead, cord, tassel). 2. Set an intention for your mala. 3. String the beads, tying a knot between each one. 4. Add the Guru bead to connect the ends. 5. Attach the tassel with a secure knot to finish the necklace.
A mala is made by threading 108 beads onto a durable cord. A knot is traditionally tied between each bead to create space and make the mala strong for use in meditation. The two ends of the cord are then passed through a larger 'Guru bead' and finally secured with a tassel.
Absolutely! Making your own Japa mala is a highly recommended practice. It allows you to choose beads that resonate with your personal energy and intentions, and the creative process itself can be a powerful meditation, infusing the mala with your unique spiritual purpose.
Traditional malas are crafted from natural, sacred materials believed to hold spiritual energy. Common materials include Rudraksha seeds, Bodhi seeds, sandalwood, rosewood, and gemstones like amethyst, quartz, or lapis lazuli. The choice of material often relates to the specific intention of the mala.
The Guru bead is the 109th bead and serves as the starting and ending point for meditation. It is not counted among the 108 repetitions. Its purpose is to symbolize the teacher, divine wisdom, or your own inner guru. When you reach it, it's a moment to pause, reflect, and give thanks.